

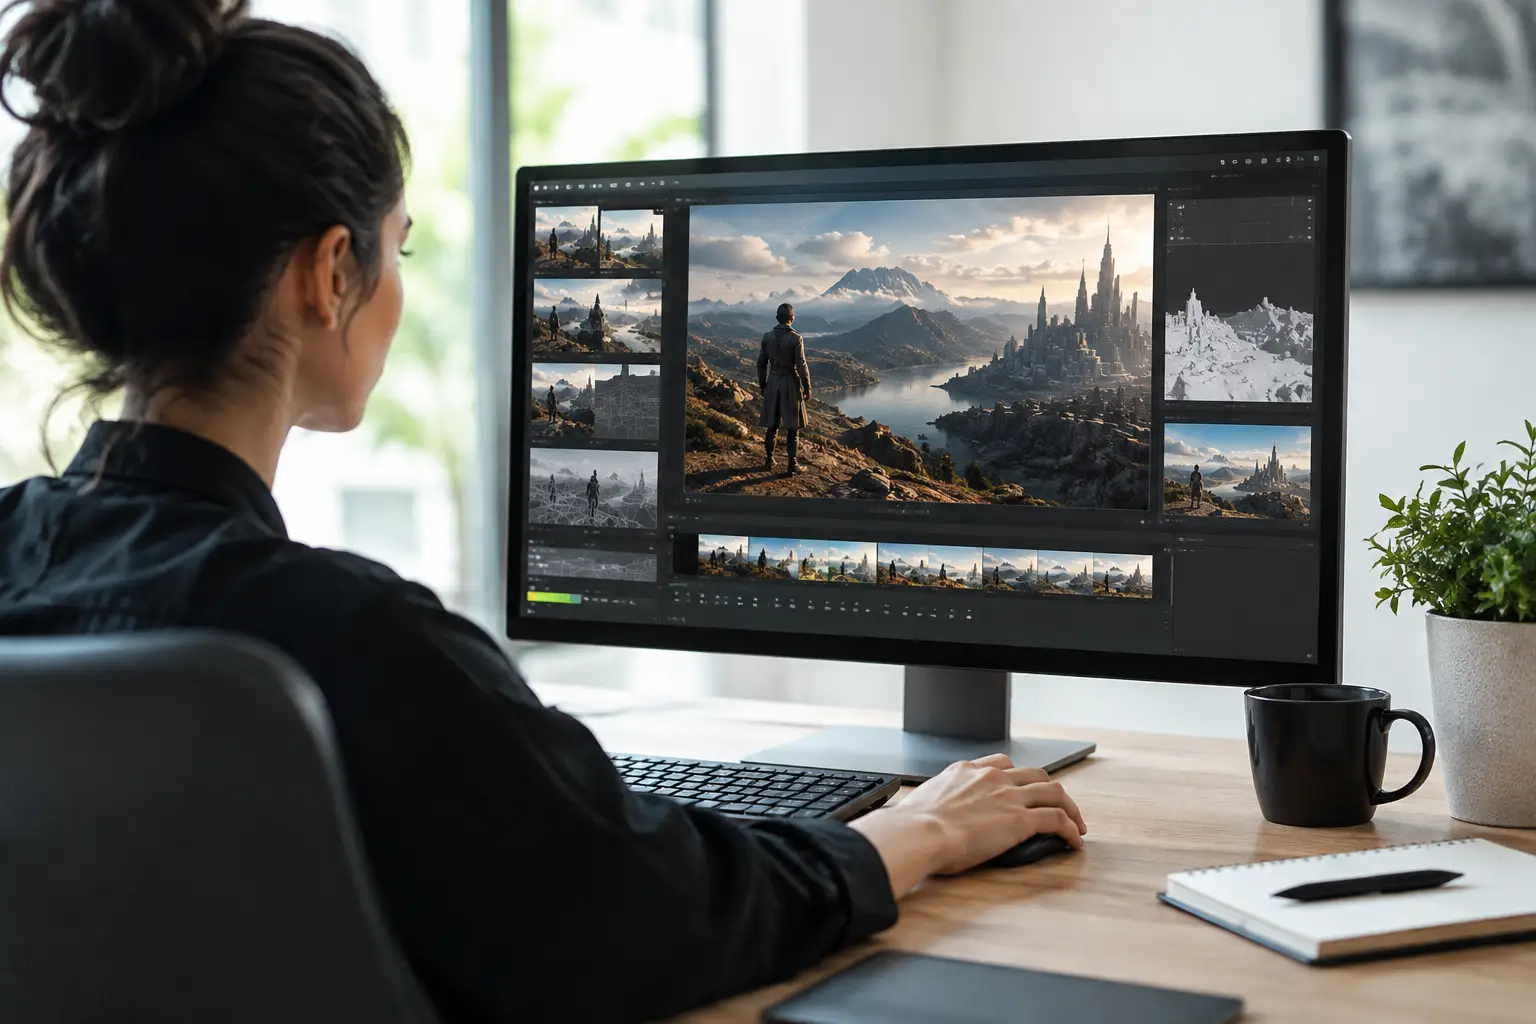
Featured image concept: A photorealistic cinematic film set at blue hour, with a filmmaker studying glowing AI-generated storyboard frames on a monitor, practical lights and haze in the background, widescreen composition.
A scene can look perfect in a screenplay and still fall apart the moment it needs shots, movement, sound, and time. The fastest way to find those problems is to develop AI previsualization scenes before production begins. Instead of waiting for a location, crew, camera package, or final budget, you can turn a written beat into a screen-ready visual test.
Previsualization is not the finished film. It is the film’s first proof of life. It lets you see whether a character entrance has enough tension, whether a reveal needs a wider frame, or whether a dialogue scene needs less coverage and more silence. For independent filmmakers and creators working at speed, that clarity can prevent expensive detours later.
What an AI Previsualization Scene Should Prove
A useful previs scene is not a collection of attractive images. It answers a creative question. Perhaps you need to know whether a handheld camera makes an argument feel more immediate, whether a rain-soaked street supports the tone of a thriller, or whether a 30-second sequence can carry a visual twist without extra exposition.
Start with one dramatic purpose. Write it in a sentence before generating anything: Maya realizes she is being followed, but she cannot let the person behind her know. That sentence determines the framing, pacing, performance, and sound design. Without it, AI generations can become a beautiful but unfocused mood board.
A short previs scene should prove three things: what the audience needs to feel, what changes by the end of the moment, and how the camera helps deliver that change. If the scene does not answer those questions, simplify it. Previs is where you test decisions, not where you add every possible idea.
Develop AI Previsualization Scenes From the Script
Break the page into visual beats
Choose a contained scene of roughly 15 to 45 seconds. A character crosses a hallway. Two strangers meet in a diner. A musician hears a melody no one else can hear. Smaller scenes are easier to evaluate because each image has a clear job.
Read the scene once for action, then again for shifts in power. Mark where the audience receives new information. These shifts are your natural shot points. In a suspense scene, you might begin with a wide frame that establishes isolation, move to a close shot when the character notices something, then cut to an obstructed point of view that withholds the threat.
Do not build coverage out of habit. A wide shot, medium shot, and close-up are not automatically a sequence. Every change in lens, angle, or distance should alter the audience’s relationship to the moment.
Create a visual brief before you prompt
A strong AI prompt starts with a clear production brief, not a pile of adjectives. Define the essential elements: character, location, time of day, camera perspective, lighting, wardrobe, mood, and action.
For example: “A tired paramedic in a navy rain jacket stands beneath a flickering bus shelter at night, reflected in wet pavement. Slow push-in from across the street. Sodium-vapor streetlights, restrained neo-noir color palette, anxious stillness.”
That prompt gives the generation a cinematic foundation while leaving room for interpretation. Add only details that matter to the story. If the scene’s tension depends on a red umbrella, include it. If the exact brand of coffee cup does not matter, leave it out.
Consistency matters more than decorative detail. Keep a simple reference sheet for each lead character: age range, silhouette, hair, wardrobe palette, defining prop, and emotional baseline. Reuse those details across every shot. The same approach applies to locations. A subway platform should retain its tile color, lighting logic, signage style, and atmosphere from shot to shot.
Generate shots, not a single polished moment
Create the scene in parts. Generate an establishing frame, the key performance beat, the reaction, and the final image that carries the transition into the next scene. This reveals gaps in your visual plan quickly.
Test two or three versions of the crucial shot rather than endlessly refining every frame. One version may favor composition, another motion, and another emotional clarity. Compare them against the scene’s purpose. The most cinematic option is not always the best option. A slightly imperfect image with readable character intention can be more valuable than a flawless image that says nothing.
When generating motion, describe the camera move and the subject move separately. “The camera slowly tracks backward while the character walks toward it” is clearer than “dynamic cinematic movement.” Keep moves motivated. A slow push-in can tighten dread. A locked-off frame can make a character feel trapped. Fast motion may create energy, but it can also hide whether the scene is actually working.
Edit for Rhythm Before Visual Perfection
Place your shots on a simple timeline as soon as you have enough material to judge the sequence. Timing exposes issues that still images cannot. A reaction may need another second. A reveal may arrive too early. A moody establishing shot may be slowing the story down.
Start with silence or temporary room tone. It makes the visual rhythm easier to hear. Then add a rough music cue only after the cut has a pulse. Music can elevate a scene, but it can also disguise weak pacing. If the sequence loses tension with the soundtrack muted, revisit the shot order first.
Sound also helps establish scale. Footsteps in an empty corridor, traffic bleeding through a closed window, a distant train, or the low electrical hum of a hospital waiting room can make a preliminary scene feel inhabitable. Use sound as narrative information, not wallpaper.
AICINEO brings screenwriting, AI video creation, original music, editing, and publishing into one creative workspace, so you can move from the first visual test toward a finished project without breaking your momentum. Try it free when you are ready to turn your previs into a film.
What to Check Before Moving Into Production
Once the scene plays from beginning to end, review it like a director and producer at the same time. Ask whether the geography is understandable, whether the emotional turning point is visible, and whether the most important shot has enough screen time.
Also test practicality. A giant crane move might look spectacular in previs, but can your actual production achieve its purpose with a gimbal, a tripod, or a static frame? AI previs should expand your imagination, then help you identify the leanest path to the result. The goal is not to copy every generated frame exactly. It is to carry its intent into production.
Show the cut to one or two trusted viewers without explaining it first. Ask what happened, what they felt, and where their attention drifted. Their answers will tell you more than a general question about whether they liked it. If they misunderstand the moment, adjust the visual storytelling before you add more polish.
Use Previs to Make Braver Choices
The real advantage of AI previsualization is not simply speed. It gives you permission to test choices that might feel too risky, costly, or abstract to describe on a page. You can try the scene in harsh midday light, then in a green-lit basement. You can test a long unbroken take against sharp, fragmented cuts. You can discover that the strongest version contains fewer shots than you expected.
Keep each test connected to a question, preserve the versions that reveal something useful, and let the script evolve with the images. A finished film starts gaining its identity long before the first day of shooting. Previsualization is where that identity becomes visible.